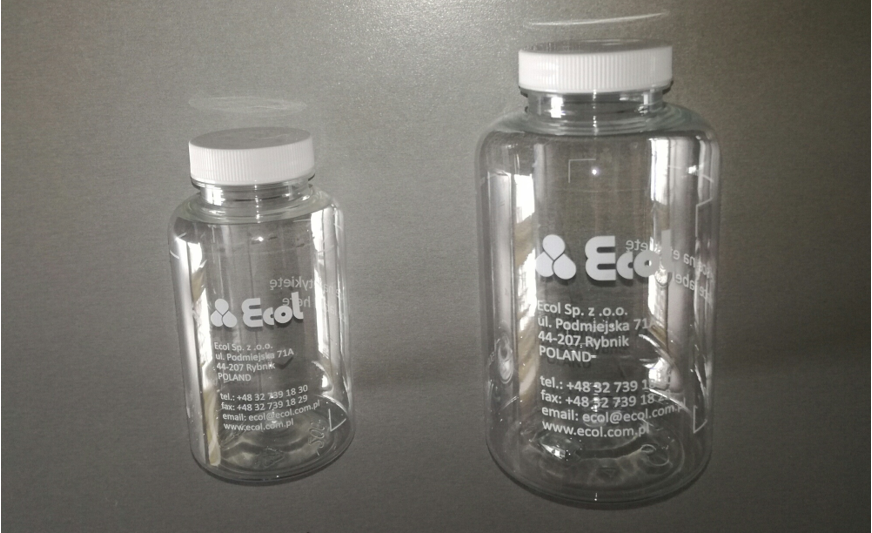
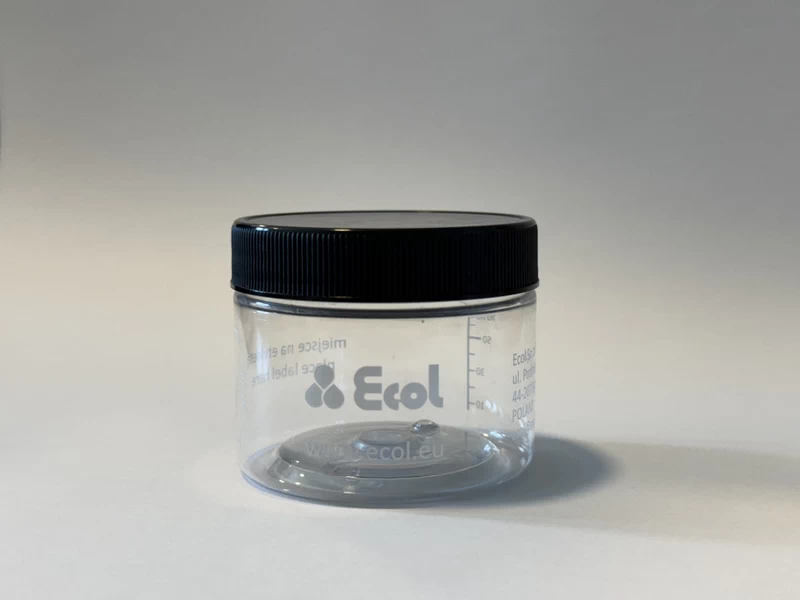
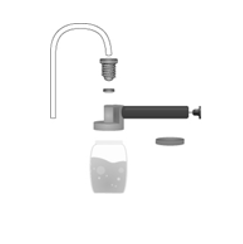
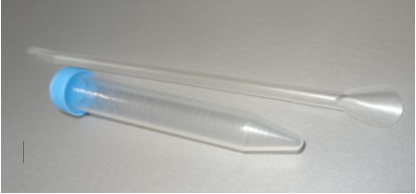
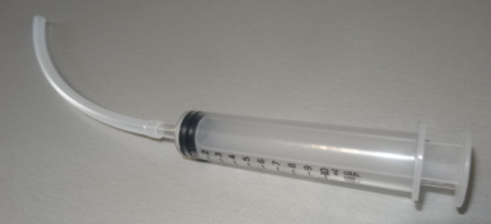
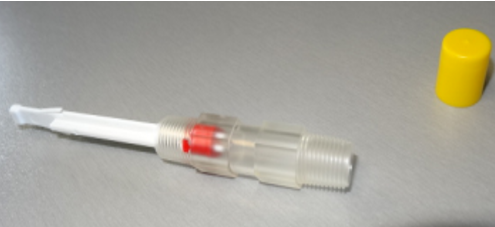
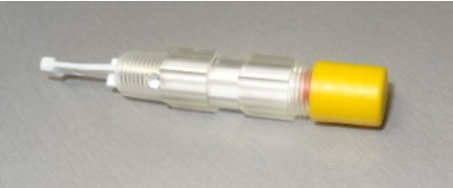
- sample container with the sample information form + pen
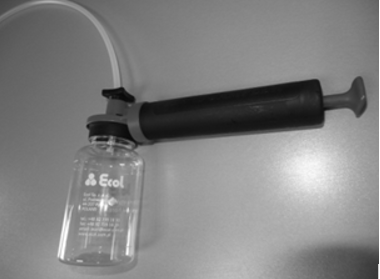
- pump – make sure that the thread of the sample container is compatible with the pump thread; if necessary, prepare a suitable adapter
- tubing and a knife for cutting the tubing to the required length
- dipstick
- cleaning cloths
- container for used cleaning cloths and tubing
- appropriate wrench for opening/closing the oil reservoir
If possible, ensure sufficient space to work freely. The design of the equipment may require you to adopt an uncomfortable or non-ergonomic position during sampling.
Enter all known information in the appropriate fields and label the sample container with the sticker containing the number and barcode (from the bottom section of the form). These steps may also be completed after sampling.
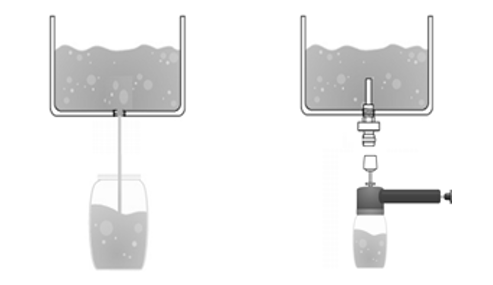
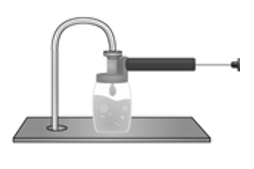
- container + adapter, if required + pump + tubing of the appropriate length
- ensure that an improper sampling procedure does not cause contamination of the sample or the inside of the oil system
- ensure that the pump is cleaned before each sampling
- remember that a single piece of tubing must never be used more than once
- thoroughly clean the area around the sampling point before opening the oil reservoir
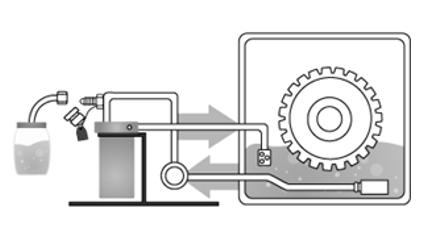
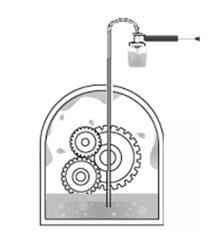
Using the dipstick, insert the end of the tubing into the reservoir. The sample should be collected from the central part of the reservoir, close to the oil return point. The bottom of the reservoir, areas near the walls and the oil surface are potential locations for contaminant accumulation.
If there is any doubt about the cleanliness of the container or tubing, use the first portion of collected oil as flushing oil and discard it, then collect the target sample.
Disassemble the sampling set and immediately close the sample container with its cap. Secure the sample in a zip-lock bag.
Place the used cleaning cloths and tubing in the designated container. Leave the work area at least as clean and orderly as it was before sampling.